How to Use XAMPP to Set Up a Local WordPress Site?
“WordPress using XAMPP” XAMPP is a free and open-source cross-platform web server solution stack package developed by Apache Friends. It includes the Apache HTTP Server, MySQL database, PHP, and Perl. XAMPP can be used to run a local web server on your computer, which allows you to:
- Test web applications before deploying them to a live server.
- Develop and debug PHP scripts.
- Learn about web development technologies.
- Run web-based applications that require PHP, MySQL, or Perl.
XAMPP full form, XAMPP stands for “Cross-Platform, Apache, MySQL, PHP, Perl.”
XAMPP is a popular choice for web developers because it is easy to install and use. It is also a good choice for businesses that want to test web applications before deploying them to a live server.
If you are interested in web development, it is easy to install and use, and it can be used for a variety of purposes. This powerful tool allows you to set up a local server environment on your computer, making it easier to develop and test websites offline.
In this article, we will go through the process of installation & set up WordPress using XAMPP locally.

Install XAMPP
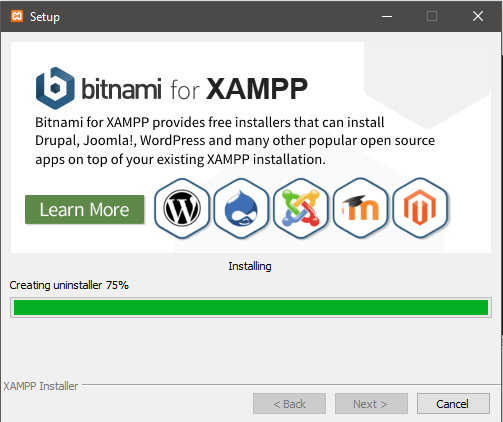
Start by downloading and installing XAMPP on your computer. It is available for Windows, macOS, and Linux platforms. Once installed, launch the XAMPP control panel.
Start Apache and MySQL
In the XAMPP control panel, click on the “Start” buttons next to Apache and MySQL modules. This will start the local web server and the MySQL database server.
Create a Database
Open your web browser and go to “http://localhost/phpmyadmin/”. Here, click on “Databases” and create a new database for your WordPress site. Remember the database name as you will need it during the WordPress installation.
Download and Install WordPress
Visit the official WordPress website and download the latest version of WordPress. Extract the downloaded files and copy them to the “htdocs” folder located in the XAMPP installation directory (e.g., “C:\xampp\htdocs\”).

Configure WordPress
Open your web browser and go to “http://localhost/your-wordpress-folder“. Follow the on-screen instructions to set up your WordPress site. Provide the necessary database details, including the database name, username, and password.
Install and Customize Themes and Plugins
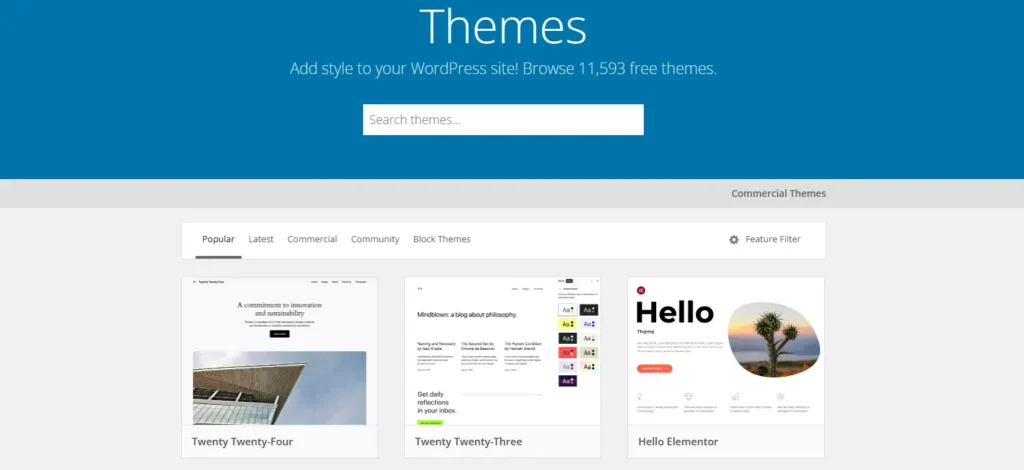
Once WordPress is installed, you can explore various themes and plugins to customize your site. Install them by going to the WordPress dashboard and navigating to “Appearance” for themes and “Plugins” for plugins.

Test and Debug
With your local WordPress using XAMPP up and running, you can now test and debug your website without affecting the live version. Make any necessary changes to ensure your site is functioning as expected.
Local development allows you to test themes, plugins, and updates without affecting your live site. It’s a safe space for experimentation, ensuring a smoother experience when you eventually migrate changes to the live server.
Troubleshooting Common Issues
During installation, you might encounter common WordPress issues. If the site doesn’t load, double-check your configurations and ensure Apache and MySQL services are running. Seek online forums and resources for solutions to specific problems.
Best Practices for Local Development
To optimize your local development workflow, consider implementing best practices. Regularly back up your WordPress site, keep software updated, and leverage version control systems for more extensive projects.
Here are some of the specific uses of XAMPP:
- Testing WordPress websites – XAMPP can be used to test WordPress websites before you deploy them to a live server. This allows you to make sure that your website is working properly and that it is compatible with your web hosting provider.
- Developing and debugging PHP scripts – It can be used to develop and debug PHP scripts. This is a great way to learn how PHP works and to troubleshoot any problems that you may encounter with your scripts.
- Learning about web development technologies – It can be used to learn about web development technologies such as PHP, MySQL, and Perl. This is a great way to get started with web development or to brush up on your skills.
- Running web-based applications – It can be used to run web-based applications that require PHP, MySQL, or Perl. This includes applications such as WordPress, Joomla, and Drupal.
FAQs
Is it necessary to use XAMPP for local WordPress development?
No, it is not necessary to use XAMPP for local WordPress development. There are several other alternatives available, each with its own strengths and weaknesses. Here are a few popular options:
- Local: Local is a free and open-source tool that makes it easy to create and manage multiple local WordPress sites. It is particularly popular among developers because it provides a more streamlined and user-friendly experience than XAMPP.
- Valet: Valet is another popular option for local WordPress development. It is a Mac-only tool that is known for its simplicity and ease of use. Valet is a good choice for developers who are new to local WordPress development and who want a simple solution.
- MAMP: MAMP is a paid tool that is available for both Mac and Windows. It is a more powerful and feature-rich option than XAMPP or Valet, but it can also be more complex to use. MAMP is a good choice for developers who need more control over their local WordPress using XAMPP development environment.
Ultimately, the best tool for local WordPress development will depend on your individual needs and preferences. If you are a beginner, Local or Valet are good options to consider. If you are a more experienced developer who needs more control, MAMP may be a better choice.
While other options exist, XAMPP provides a comprehensive package suitable for most users, simplifying the setup process.
Can I install multiple WordPress sites on the same XAMPP installation?
Yes, you can install multiple WordPress sites on the same XAMPP installation. This can be done using virtual hosts. Virtual hosts allow you to run multiple websites on the same IP address and web server.
To install multiple WordPress using XAMPP, you will need to follow these steps:
- Create a virtual host for each WordPress site. To do this, you will need to create a new configuration file for each site. The configuration file will need to specify the site’s domain name, the path to the site’s root directory, and the name of the site’s database.
- Create a database for each WordPress site. You can do this using the phpMyAdmin tool that is included with XAMPP.
- Install WordPress for each site. You can do this by downloading the WordPress files and extracting them to the site’s root directory. Then, you can run the WordPress installation script.
Once you have completed these steps (WordPress using XAMPP), you should be able to access your WordPress sites by visiting their domain names in your web browser.
Here is an example of a virtual host configuration file for a WordPress site:
<VirtualHost *:80>
    ServerName example.com
    DocumentRoot "/home/user/public_html/example.com"
    <Directory "/home/user/public_html/example.com">
        Options Indexes FollowSymLinks
        AllowOverride All
        Require all granted
    </Directory>
    ErrorLog "/home/user/logs/example.com-error.log"
    CustomLog "/home/user/logs/example.com-access.log" common
</VirtualHost>
Make sure to replace example.com with your site’s domain name, /home/user/public_html/example.com with the path to your site’s root directory, and example.com-error.log and example.com-access.log with the names of your site’s error log and access log files.
For more information on how to install multiple WordPress using XAMPP, please refer to the official XAMPP documentation.
What should I do if I forget my WordPress admin password on the local site?
Resetting your WordPress admin password on a local site is a straightforward process that can be done without affecting your live website. Here’s a step-by-step guide on how to reset your password:
- Access phpMyAdmin: Open your web browser and navigate to the phpMyAdmin login page. This is typically located at http://localhost/phpmyadmin/.
- Locate the WordPress database table: Once logged into phpMyAdmin, locate the database table associated with your WordPress installation. The default table name is “wp_users”.
- Identify the admin user: Within the wp_users table, identify the row corresponding to the admin user whose password you want to reset.
- Reset the password: Click the “Edit” button for the admin user’s row. Locate the “user_pass” field and enter your desired password. Select “MD5” from the dropdown menu next to the field.
- Save the changes: Click the “Save” button to apply the changes.
- Log in with the new password: You should now be able to log in to your WordPress admin panel using the newly set password.
This method effectively resets your WordPress admin password on your local site (WordPress using XAMPP) without affecting your live website.
Are there alternatives to XAMPP for local development?
Yes, there are several alternatives to XAMPP for local development. Here are a few of the most popular options:
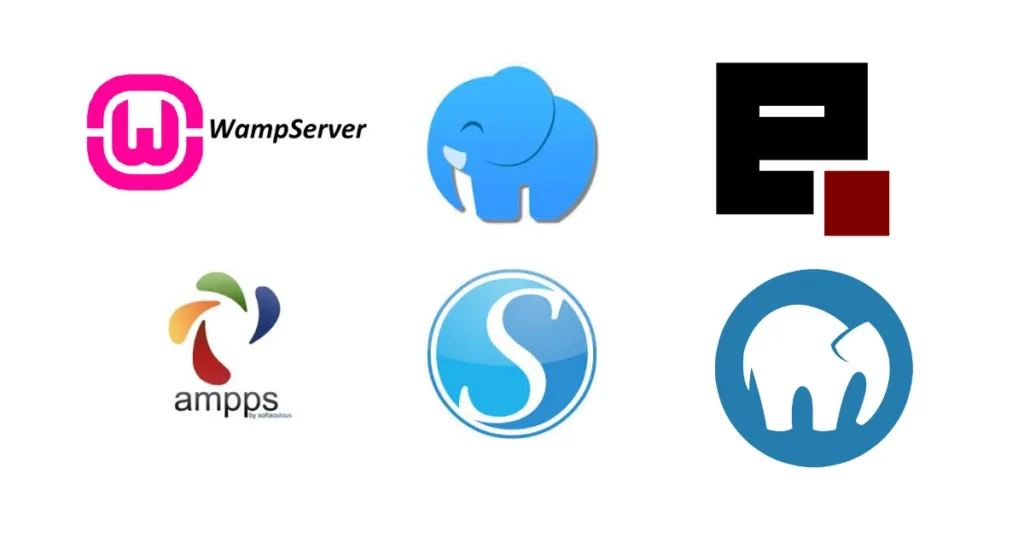
- WAMPServer: WAMPServer is a free and open-source web development environment that is similar to XAMPP. It is available for Windows and includes Apache, MySQL, and PHP.
- EasyPHP: EasyPHP is another free and open-source web development environment that is similar to XAMPP. It is available for Windows and includes Apache, MySQL, and PHP.
- AMPPS: AMPPS is a paid web development environment that is more powerful than XAMPP. It is available for Windows and includes Apache, MySQL, PHP, Perl, Python, and Node.js.
- DesktopServer: DesktopServer is a paid web development environment that is easy to use and includes Apache, MySQL, and PHP. It is available for Windows and Mac.
- MAMP: MAMP is a paid web development environment that is popular among Mac users. It includes Apache, MySQL, and PHP.
- Laragon: Laragon is a free and open-source web development environment that is lightweight and easy to use. It is available for Windows and includes Apache, Nginx, and PHP.

The best alternative to XAMPP for you will depend on your needs and preferences. If you are a beginner, I recommend WAMPServer or EasyPHP. If you need more power and flexibility, I recommend AMPPS or DesktopServer. If you are a Mac user, I recommend MAMP. And if you are looking for a lightweight and easy-to-use option, I recommend Laragon.
Here is a table summarizing the XAMPP alternative tools pros & cons:
| Tool | Pros | Cons |
|---|---|---|
| WAMPServer | Free, open-source, easy to use | Not as powerful as other options |
| EasyPHP | Free, open-source, easy to use | Not as powerful as other options |
| AMPPS | Paid, powerful, feature-rich | Can be more complex to use |
| DesktopServer | Paid, easy to use, includes a graphical user interface | Not as powerful as other options |
| MAMP | Paid, popular among Mac users | Not as powerful as other options |
| Laragon | Free, open-source, lightweight, easy to use | Not as powerful as other options |
Can I transfer my locally developed site to a live server?
Yes, you can transfer your locally developed site (WordPress using XAMPP) to a live server. There are two main methods for doing this:
Method 1: Manual Transfer
- Export your local database: Use a tool like phpMyAdmin to export your local WordPress database into a SQL file.
- Create a database on your live server: Access your live server’s cPanel or web hosting dashboard and create a new database for your WordPress site.
- Import the database: Use a tool like phpMyAdmin to import the exported SQL file into your live server’s database.
- Upload your WordPress files: Copy the WordPress files from your local development environment to your live server’s public_html directory.
- Update the wp-config.php file: Edit the wp-config.php file on your live server and update the database connection details with the ones you created in step 2.
Method 2: Plugin-Assisted Transfer
- Install a migration plugin: Install a migration plugin like Duplicator or All-in-One WP Migration on your local WordPress site.
- Create a migration package: Use the plugin to create a migration package of your local WordPress site. The package will include your WordPress files and database.
- Upload the migration package to your live server: Upload the migration package to your live server’s public_html directory.
- Run the migration script: Access your live server’s web browser and navigate to the migration package’s installer.php file. Run the installer to install your WordPress site on your live server.
Remember, a local WordPress using XAMPP is only accessible on your computer. To make it accessible to others, you need to deploy it to a live web server.
In conclusion, XAMPP is a valuable tool for setting up a local WordPress site for development and testing purposes. By following the steps outlined in this article, you can harness the power of XAMPP to create and customize your WordPress site offline, saving time and allowing for a seamless development process.

